Ever wondered how to create latte art, well we’ve summarised starting points, to help with starting your latte art journey.
Latte art has become an integral part of the speciality coffee experience, adding a visual appeal to the already delightful taste. If you’re passionate about creating stunning designs on the surface of your latte, this blog post is for you. We will delve into advanced techniques that will help you master the art of latte art, elevating your speciality coffee game to new heights.
Choosing the Right Milk
Achieving perfect latte art starts with selecting the right type of milk. For the best results, choose whole milk, as its higher fat content provides better texture and microfoam. Organic and locally sourced milk can also enhance the flavour and quality of your latte art.
If you’re more of an alternative m*lk drinker, we recommend Oatly Barista.
Perfecting Milk Steaming
Texturing milk requires a bit of practice, if you’ve never done it before it’s best to be under the impression that you won’t be pouring perfect swans or beautiful tulips, we always recommend getting the texture of the milk right first then move on to creating works of art!
Get your milk in your jug, depending on what size jug you’ve got will depend on how much milk you put in, obviously…
We use 2 different size jugs;
- 20oz (600ml) – which holds 12oz of milk (360ml)
- 12oz (360ml) – which holds 8oz of milk (240ml)
The reason a 12oz holds 8oz of milk is that you want to fill it up to just below the bottom of the spout.
Holding your milk jug upright, turn the steam wand on all the way, you want it at FULL POWER!!! You need your steam wand on full power to ensure you create a vortex in the milk.
So how do you create a vortex?
Sometimes it’s easier to imagine a clock face on top of your milk jug and have your spout pointing towards your machine, this would be 12 o’clock. Between 2 o’clock and 3 o’clock is where you want your steam wand to be. Make sure your steam wand is submerged in the milk around 1cm.
Once you have your steam wand and jug in position turn the steam wand on full power. You should start to see and hear the milk spinning within the jug.
If bubbles are forming and the milk is rising in the jug, raise the jug and sink the steam wand by 1-2cm
If it is screeching and the milk is barely spinning, lower the jug and raise the steam wand by 1-2cm
You want the steam wand tip to be just under the surface the entire time like the tip is surfing the vortex of milk!
Let the milk spin around the jug, until the jug is at the desired temperature range of between 55°c and 65°c.
Don’t over-steam your milk! There’s no point crying over spilt milk but there’s plenty of reason to cry over burnt milk… when steaming, touch the bottom of the jug, when it gets just too hot to touch, turn off the steam wand. Aim for around 64°c, this is a great temperature to aim for as much hotter than that and your milk could burn and taste horrible, ruining your delicious coffee!
The cooler you steam the milk the sweeter your drink will be and after 70°c the milk will start to burn and degrade, losing any sweetness and texture!
For our quick tips and tricks video - Watch here:
Pouring Techniques
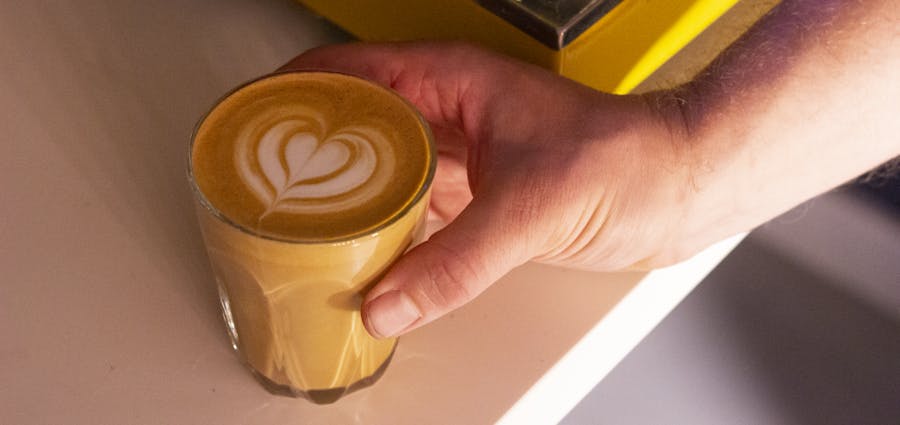
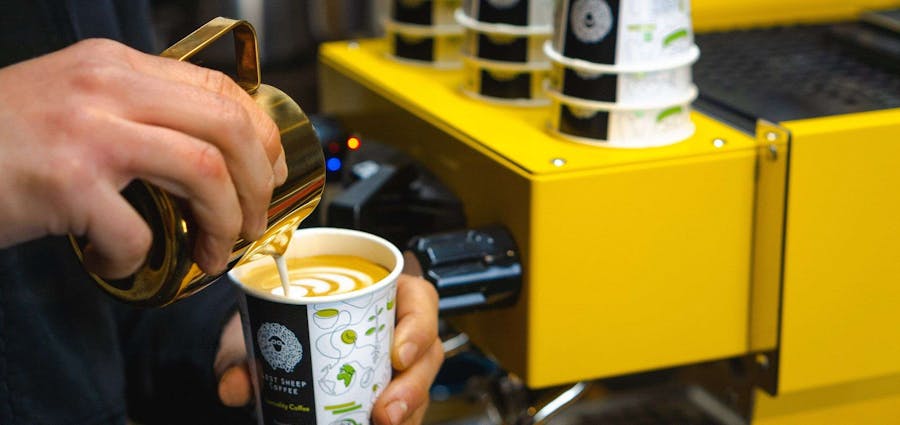
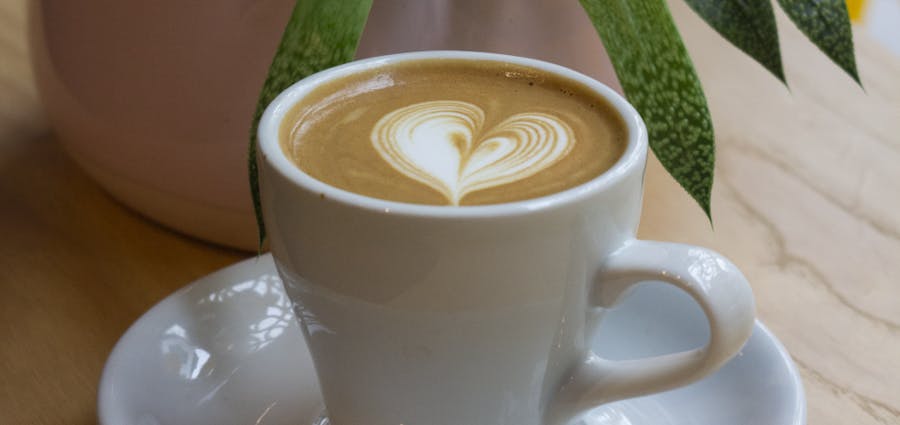
Before pouring your milk, give your jug a tap on your worktop to make sure there are no air bubbles. Give the milk a swirl until it looks glossy! Give your espresso a swirl too, then start to pour your milk clockwise stopping when you’ve filled half your cup. Then with your jug really close to the cup, at an angle, pointing at the centre of your cup pour some more milk in giving the jug a little wiggle from side to side. As you’re doing this slowly bring your cup back to a level position, dragging your milk through the design – creating a heart (hopefully) – again this takes practice, if you didn’t manage it on your first go, you’ll still have a really tasty coffee!
Mastering pouring techniques is essential for creating intricate latte art designs. Start with the basic heart or tulip designs before progressing to more advanced patterns like rosettas or swans. Experiment with different pouring speeds, angles, and wrist movements to control the flow and achieve desired designs.
Etching and Free Pouring
Etching is a technique that involves using tools like toothpicks or latte art pens to manipulate the surface of the latte art. This technique allows you to create intricate details and outlines on the foam, adding a personalised touch to your designs. Free pouring, on the other hand, involves pouring the milk directly onto the espresso to create free-flowing, abstract designs
Incorporating Latte Art Competitions and Events
Participating in latte art competitions or attending coffee events can greatly enhance your latte art skills. These events provide opportunities to learn from experienced baristas, gain inspiration from other artists, and receive valuable feedback. Engaging with the latte art community can help you stay updated on the latest trends and techniques.
Practising Patience and Persistence
Mastering latte art requires patience and persistence. It takes time and numerous attempts to perfect your skills. Embrace the learning process and don’t be discouraged by initial failures. With consistent practice and a passion for creativity, you will gradually develop the ability to create breathtaking latte art.
Latte art is a captivating and rewarding skill to master in the world of speciality coffee. By implementing advanced techniques, experimenting with different pouring methods, and incorporating personalised touches, you can create visually stunning designs that complement the rich flavours of speciality coffee. Remember, latte art is an ongoing journey, so keep practising, exploring, and expanding your repertoire of skills to continue impressing both yourself and others with your beautiful creations.
As you continue to enhance your latte art skills, don’t forget to share your creations with us on social media and tag us so we can see your amazing latte art!
